This lesson was interesting, for the simple fact that it is not used for every occasion. I learned how to create an object pool, meaning the game generates a given number of a specific object and instead of deleting and creating them, it simply enables and disables them. This is great in a game where you have a limited or set amount of a specific item, however it can quickly become a problem in games where an infinite number is required. If you specifically needed an object pool in that case, you would need a variable that gets adjusted over time, such as, “if object pool is full, raise max by one.”
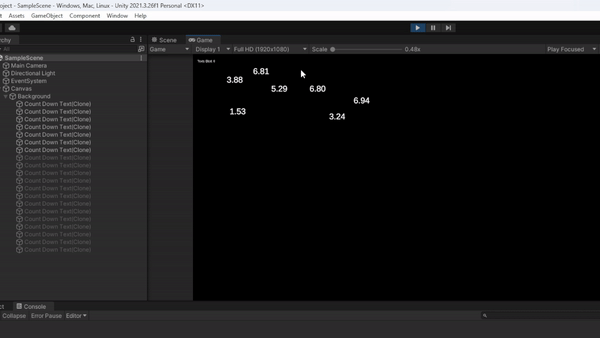
You may recognize these falling timers from the rest of my posts so far, as I’m slowly adding to, or editing, the original project the tutorial began with. As you can see the greyed-out objects are the ones that have been “destroyed” but reaching the bottom, and thus, disabled. Then when I have reached the end and need to place more, the game places one of the previously disabled objects instead of creating a new one. Now, there are so many different areas in the script I could show you from what I’ve updated to make this all work, but I want to show the major change. This for loop tells the game how many premade objects to have in the object pool in the “i < 20” section, 20 being the pool size. Now for the original point of this game, as the tutorial meant it, both the x and y under Vector3 should be a random range from 0 to screen width/height. However, I changed them both to -10 to make sure they start disabled and do not count toward the “Texts Died” count, due to the differences between my script, and outcome, compared to the one in the tutorial.

Bonus information, I found out how he had the game showing the text at the top left, which then allowed me to show the very “Texts Died” count at the top left corner.
